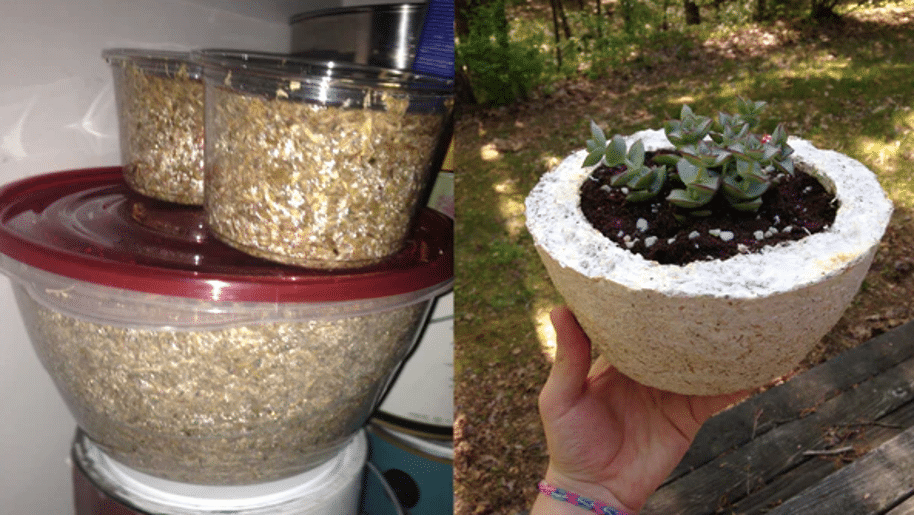
Are you excited about creating your own unique design using our GIY kit? If you already have a design in mind but are unsure which growth form to choose, don’t worry! In this blog post, we will explain everything you need to know to create your desired growth form and we also offer GIY kits with growth forms at our shop.
IMPORTANT
- Always disinfect your growth form, hand, gloves and surface.
- Please use materials or surfaces that are smooth and do not have tiny holes. Also don’t use porous materials. This way, they won’t let liquids or gases pass through or be absorbed.
- But keep in mind that you can use almost any material as long as you cover the inside with a non-porous material such as plastic foil.
- Make sure the growth forms are properly covered to prevent moisture from escaping, with plastic foil for example.
- Poke air holes to the plastic foil to provide some oxygen while growing your design.
- Make sure that the walls of your product are at least 1,5 cm and that the total thickness is not more than 10 cm.
- Use the GIY kit within 5 days upon arrival.
- For more information, please check out our FAQ page.
GROWTH FORM MAKING – TECHNIQUES
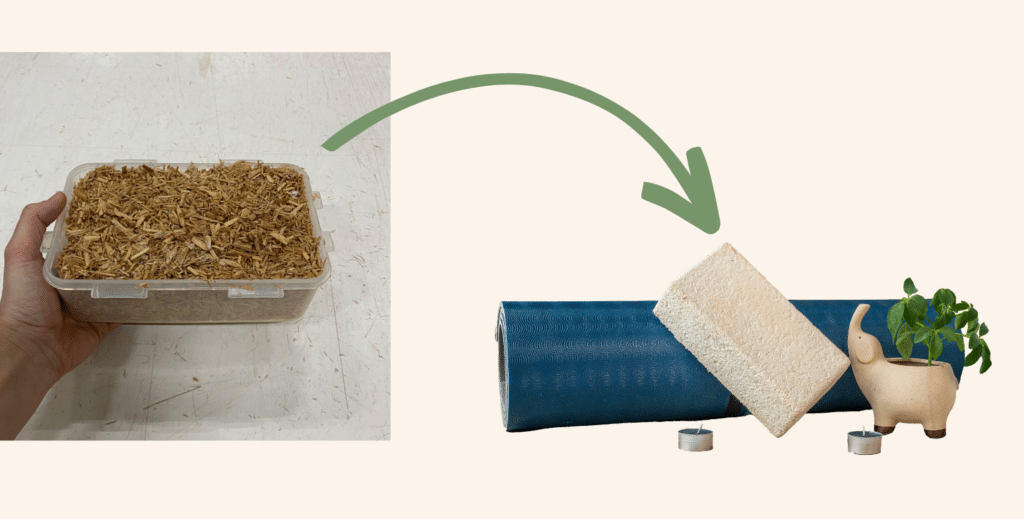
Items you can find at home
Look around your house, visit a flea market, or just simply go to your kitchen and get one of your lunch boxes! The best found objects are the ones with a smooth surface.
Some suggestions from our community are bowls, cups, takeout containers, boxes and lampshades.
Cardboard
Do you want to work with more complex shapes and fully unlock your inner artist?
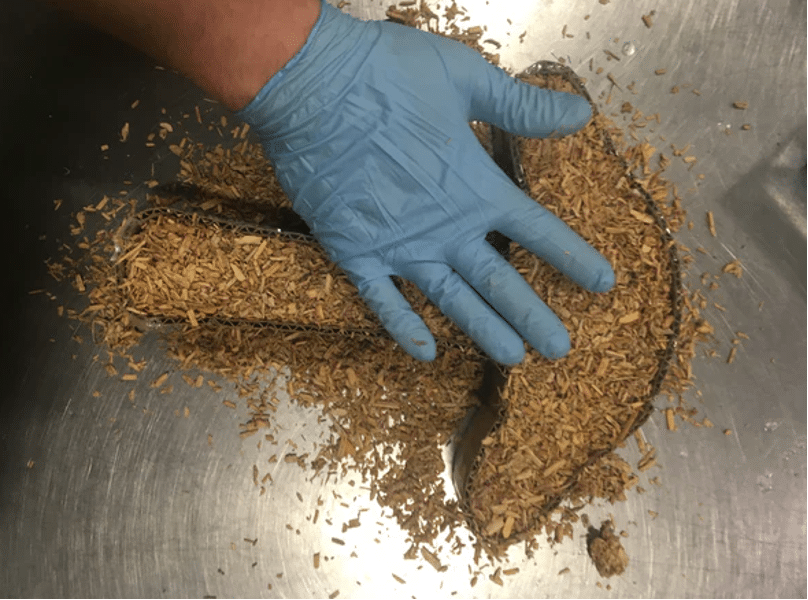
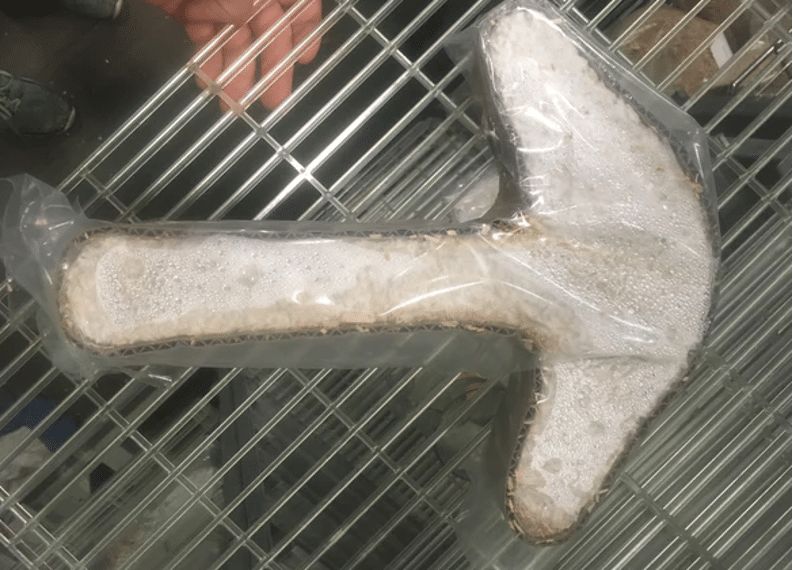
Cardboard growth forms allow you to embrace your creativity only with a craft knife and a tape. Start by constructing your shape by cutting and folding the cardboard.
To ensure a waterproof barrier, line the inside of your cardboard with plastic wrap, tape, or any other suitable liner. If you happen to have access to waxed cardboard, like the kind often found in takeout boxes, it’s an excellent choice that adds extra protection. Let your imagination run wild and explore different options to achieve the desired form!
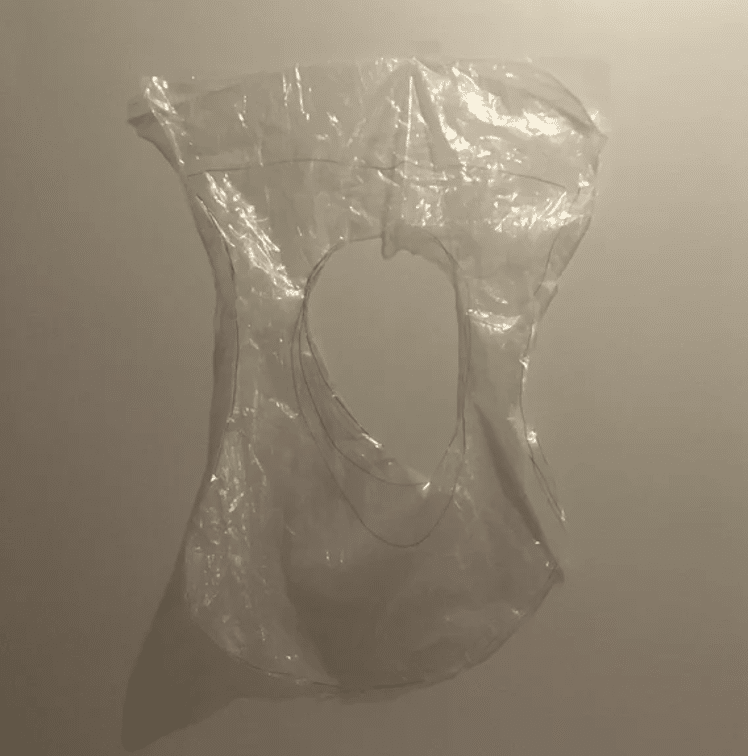
BAG
Begin by sketching your desired pattern directly onto the bag, taking into consideration the additional space the pattern will occupy in its three-dimensional form. Carefully cut out the pattern and secure the seams together using tape or an impulse sealer. Don’t forget to create airflow by poking small holes in the bag.
If your bag growth form lacks stability when standing upright, consider hanging it instead. For added support, you can attach cardboard or other structural elements using tape.
Let us know if you have any other ideas you want to share with the community.
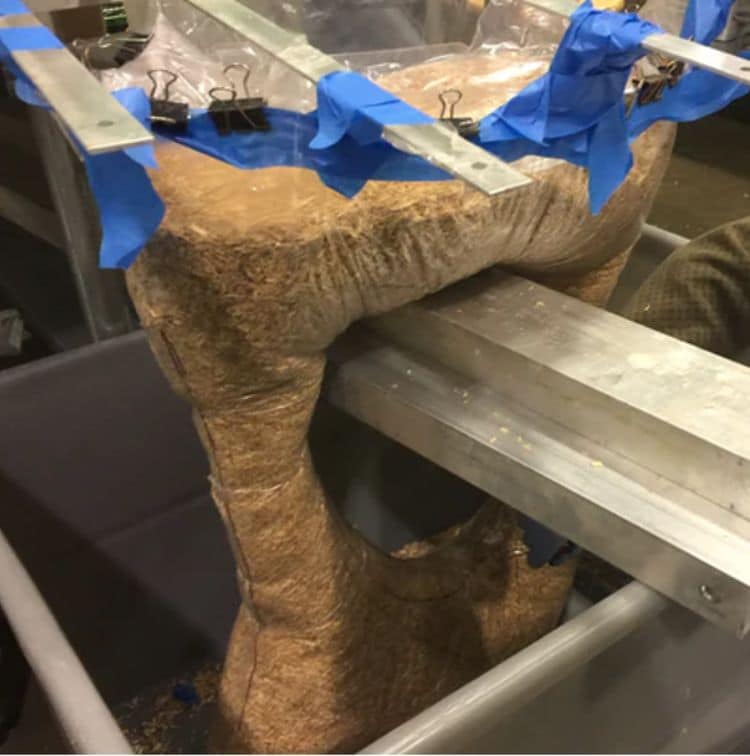
Thanks to Ecovative for the pictures!